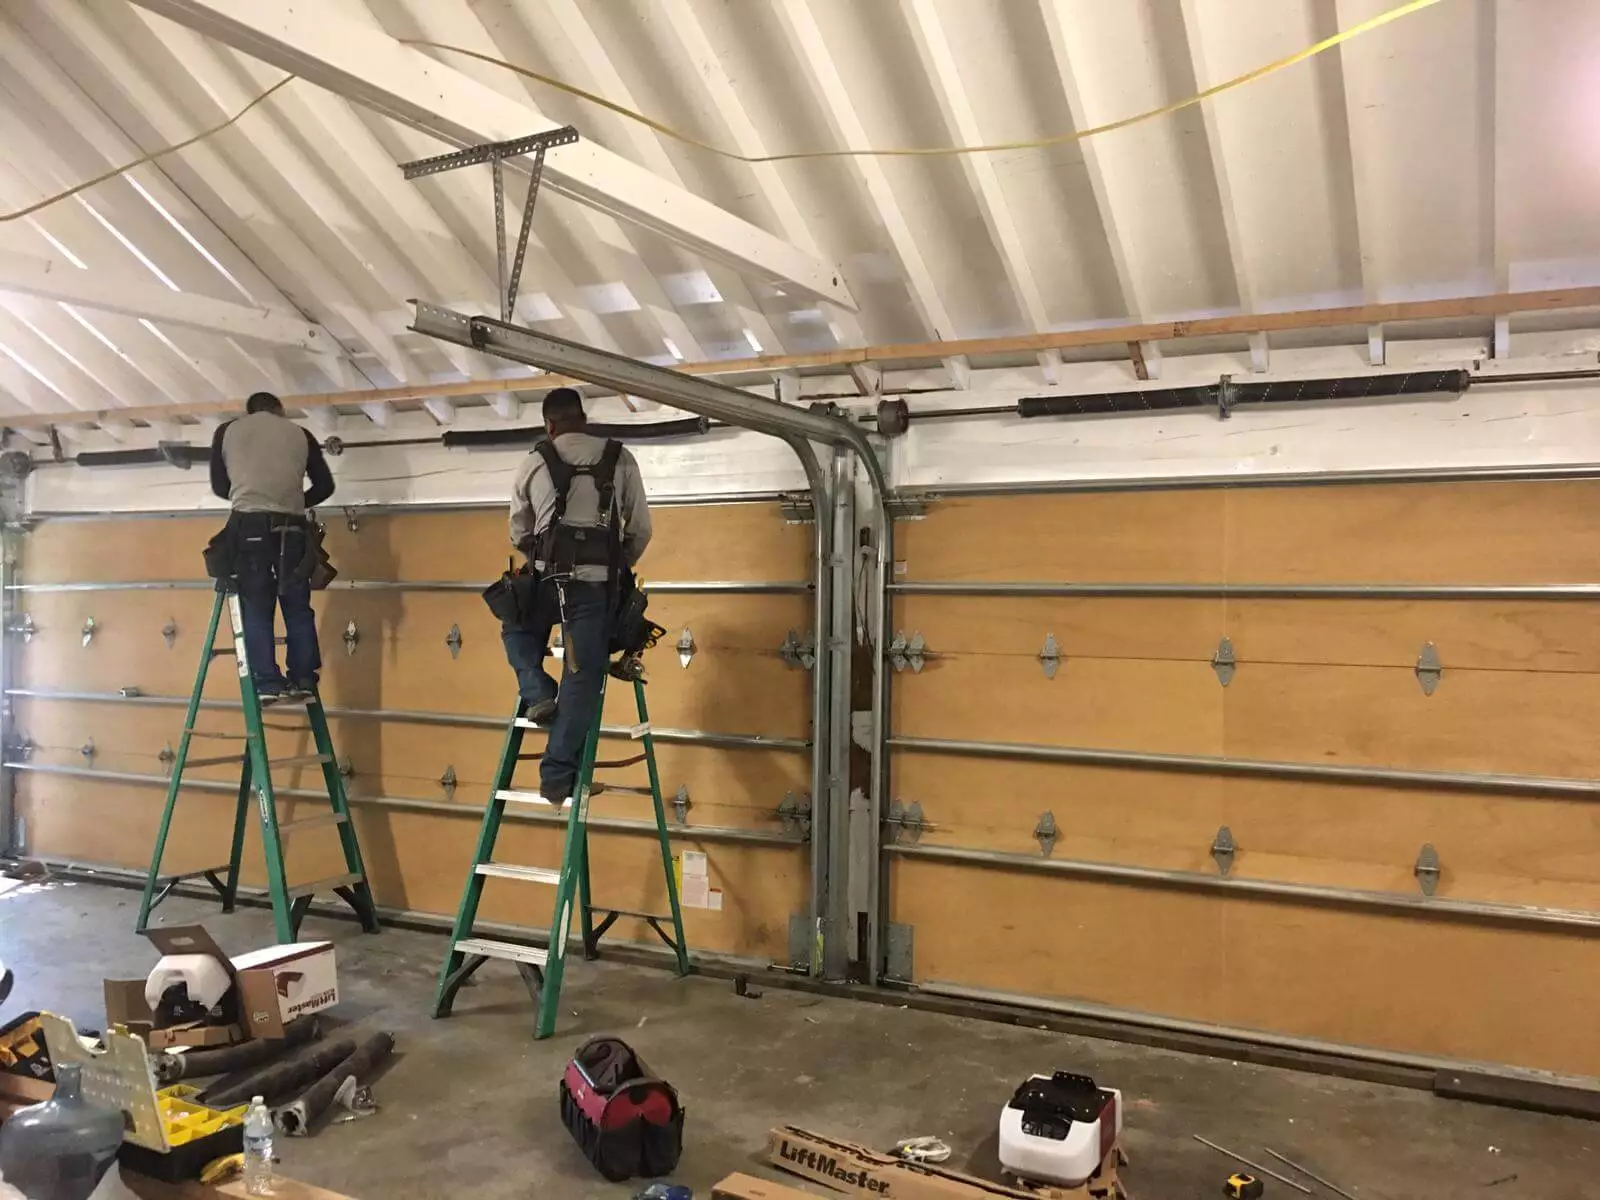
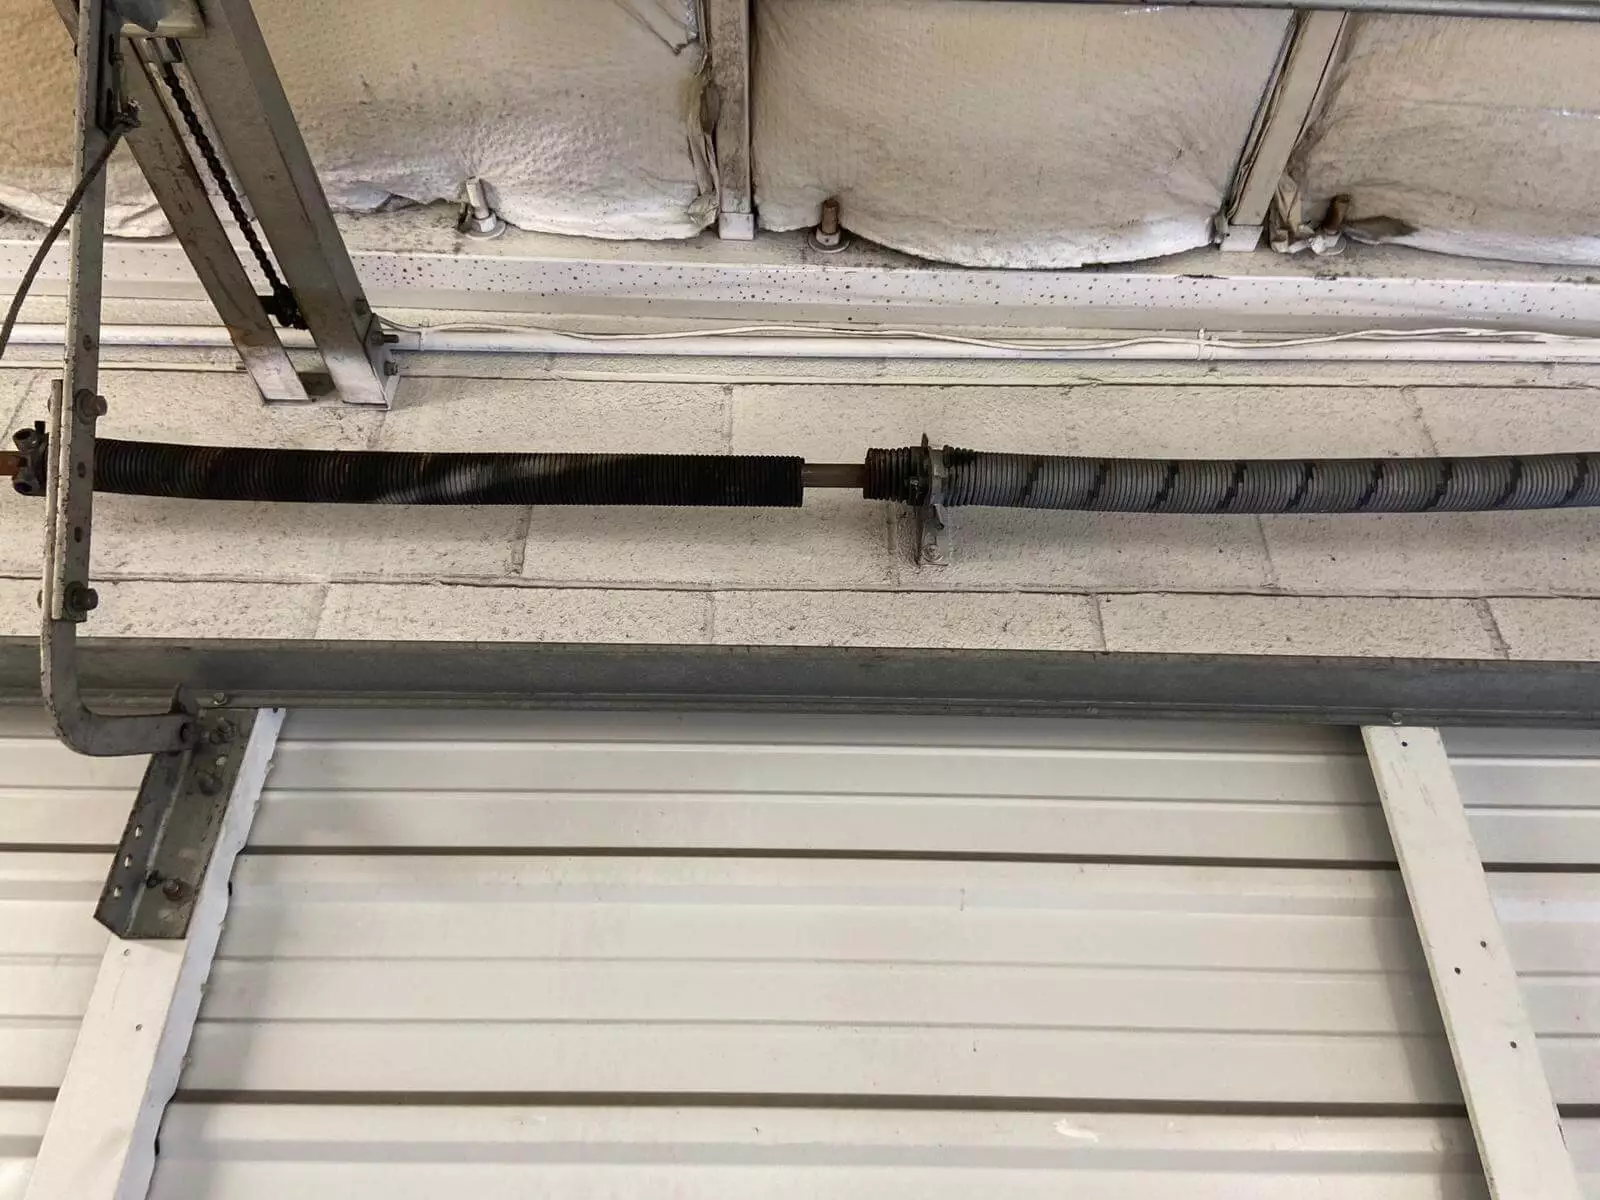
Installing extension springs on a garage door can be a daunting task, but with the right guidance, it can be done safely and effectively. This garage door spring installation guide will walk you through the process step-by-step, ensuring your garage door operates smoothly. If you’re a homeowner in Windsor, VA, looking to replace garage door extension springs, read on to learn how to tackle this DIY project.
Content
Safety First
Before starting the garage door extension spring installation, it’s crucial to prioritize safety. Extension springs are under high tension and can cause serious injury if not handled properly. Wear safety glasses and gloves, and ensure the garage door is in the closed position to minimize risk.
Tools and Materials Needed
• Replacement extension springs
• Ladder
• Wrench set
• Pliers
• Safety cables
• Tape measure
• Marker
Step-by-Step Garage Door Spring Installation Guide
1. Prepare the Work Area
Begin by clearing the area around the garage door. Ensure you have enough space to work comfortably and that all necessary tools and materials are within reach.
2. Disconnect the Garage Door Opener
For safety, unplug the garage door opener to prevent accidental activation. This step is crucial in a DIY garage door spring replacement to avoid any unexpected movements.
3. Release Tension from the Old Springs
Use pliers to carefully unhook the old extension springs from the track supports. Be cautious as the springs may still hold some tension. Slowly release the tension to prevent any sudden movements.
4. Remove the Old Springs
Once the tension is released, you can safely remove the old springs. Measure the length and diameter of the old springs to ensure you purchase the correct replacements. If you’re unsure about the specifications, consult a professional service in Windsor, VA, like Integrity Garage Door Repair, for expert advice.
5. Install the New Extension Springs
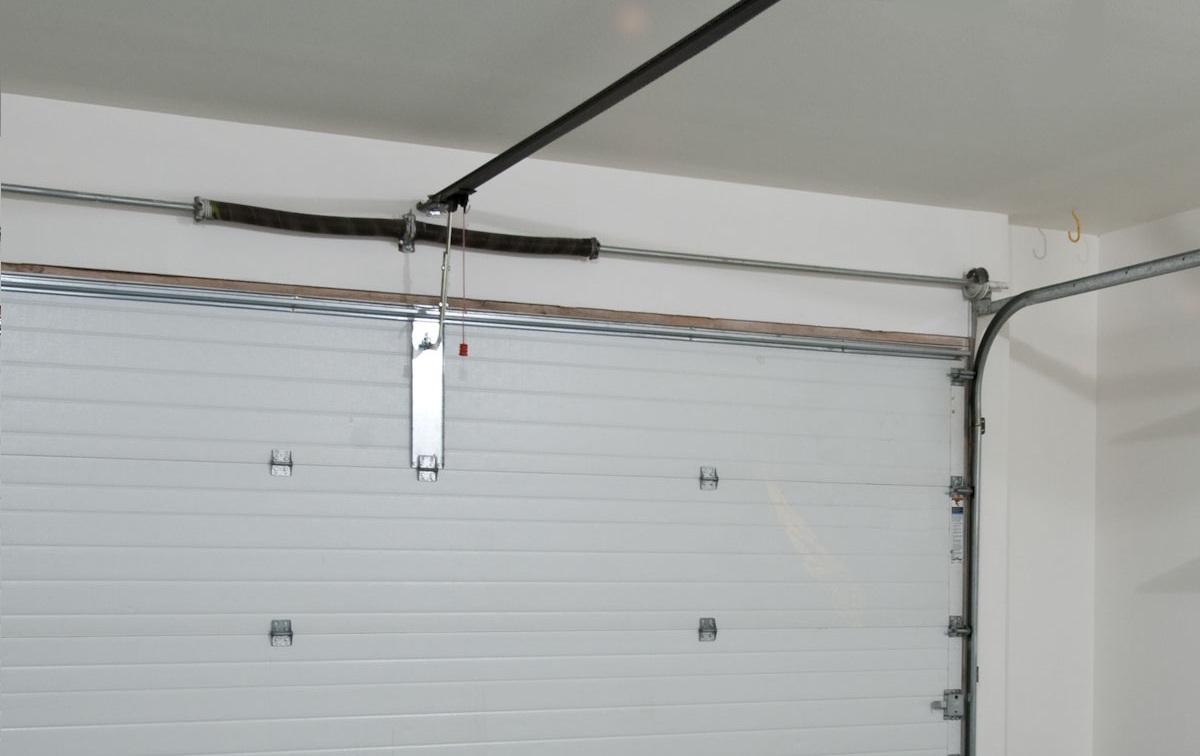
• Attach Safety Cables: Before installing the new springs, secure safety cables to prevent the springs from flying off if they break. Loop the cable through the spring and secure it to the track support.
• Position the Springs: Hook the new extension springs onto the track support brackets. Ensure they are positioned correctly and evenly on both sides of the garage door.
• Reconnect the Springs: Use pliers to stretch the springs and attach them to the rear track hangers. Make sure they are securely fastened and balanced.
6. Reconnect the Garage Door Opener
After installing garage door extension springs, plug the garage door opener back in. Test the door by opening and closing it several times to ensure smooth operation.
7. Final Adjustments
If the door is not opening or closing evenly, adjust the tension in the springs by moving the hooks to different holes in the track support brackets. This may require some trial and error to achieve the perfect balance.
Professional Assistance
While a DIY garage door spring replacement can be cost-effective, it’s not without risks. If you feel uncomfortable performing this task or encounter any issues, don’t hesitate to seek professional help. Integrity Garage Door Repair in Windsor, VA, offers reliable and safe garage door extension spring installation services. Their experienced technicians can ensure the job is done correctly, providing peace of mind and preventing potential injuries.
Conclusion
Replacing garage door extension springs requires careful attention to detail and adherence to safety protocols. By following this garage door spring installation guide, you can effectively replace your garage door extension springs and ensure the smooth operation of your garage door. Remember, if in doubt, professional services like Integrity Garage Door Repair in Windsor, VA, are always available to assist you.

Meet Jack, our garage guru. With a wrench in one hand and a can-do attitude in the other, he’s your go-to expert for all things repair and replacement.

