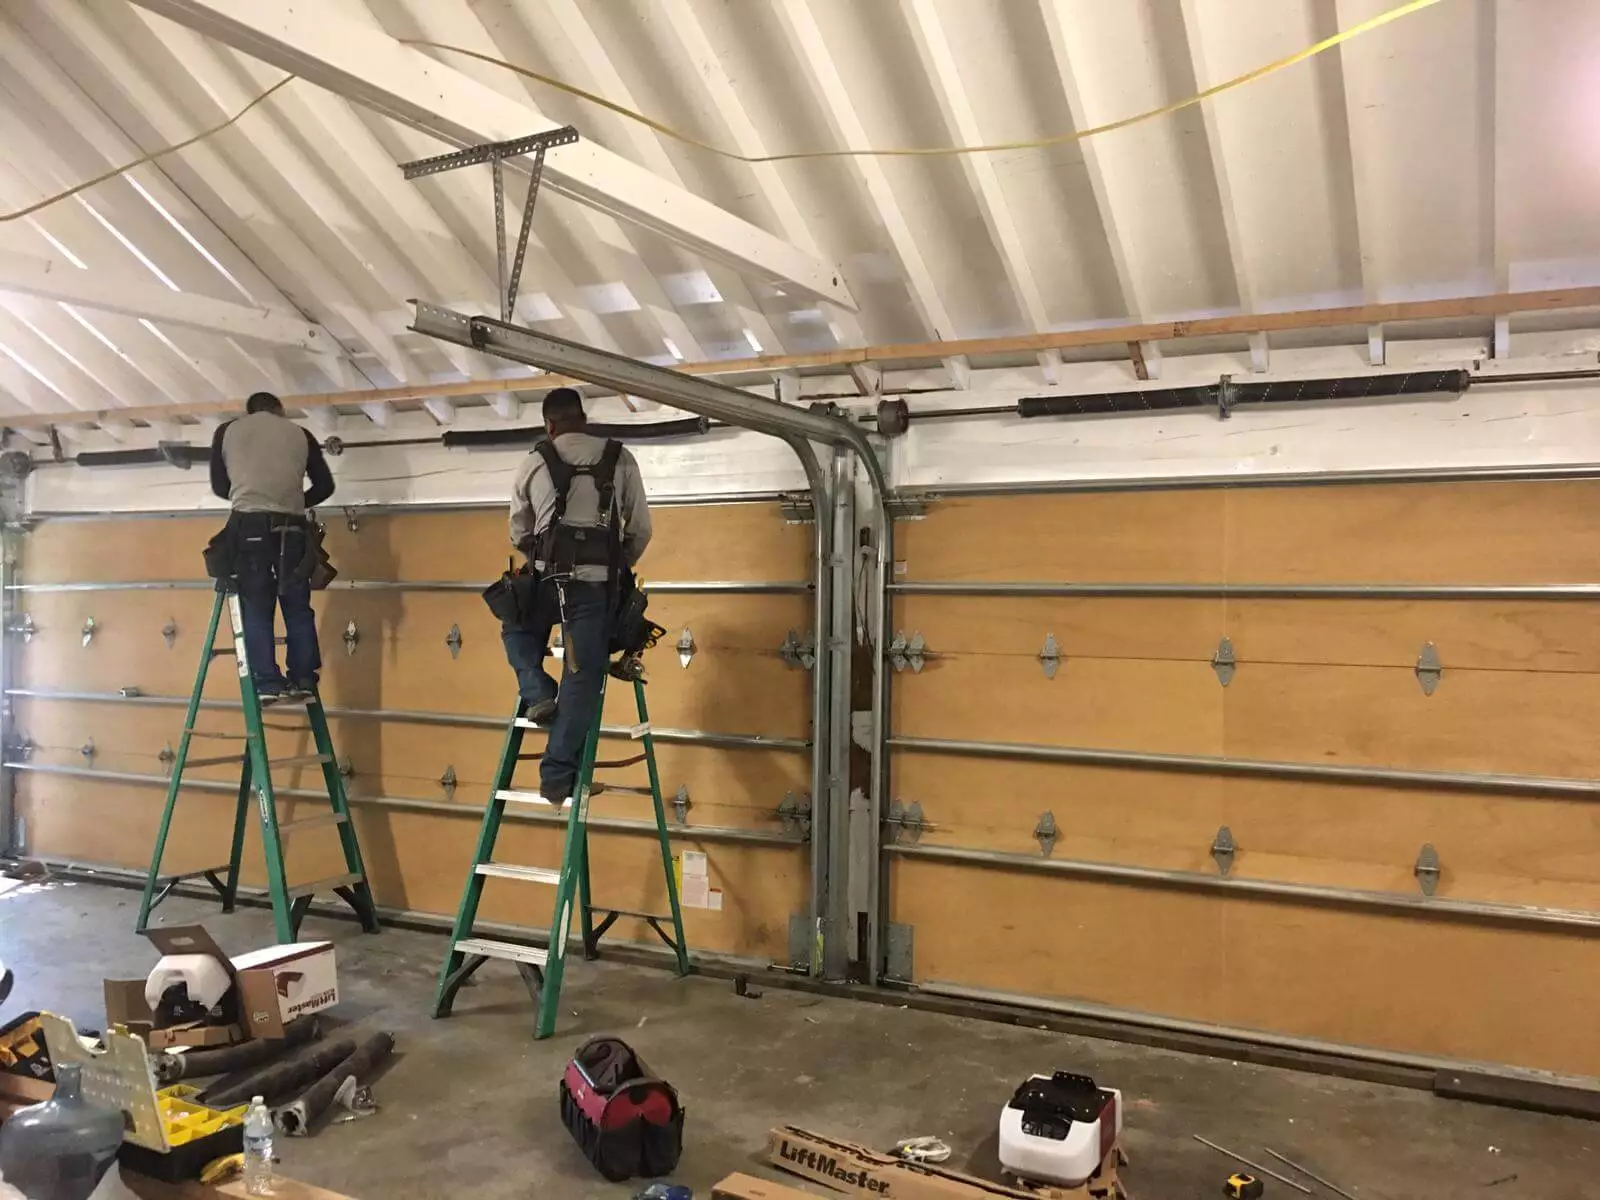
If your garage door suddenly stops opening or makes a loud snapping sound, chances are you’re dealing with a broken spring. The best and safest way to change out garage door springs is to follow a proper step-by-step process with the right tools and precautions. Replacing broken garage door springs can restore your garage’s function and prevent costly damage—but it must be done carefully.
In this guide, we’ll walk through how to change out garage door springs safely, what tools you’ll need, when to call a professional, and even share a real-life homeowner story to help you avoid common mistakes.
Content
1. Understanding Garage Door Springs
Before starting any repair, it’s crucial to understand the two main types of garage door springs:
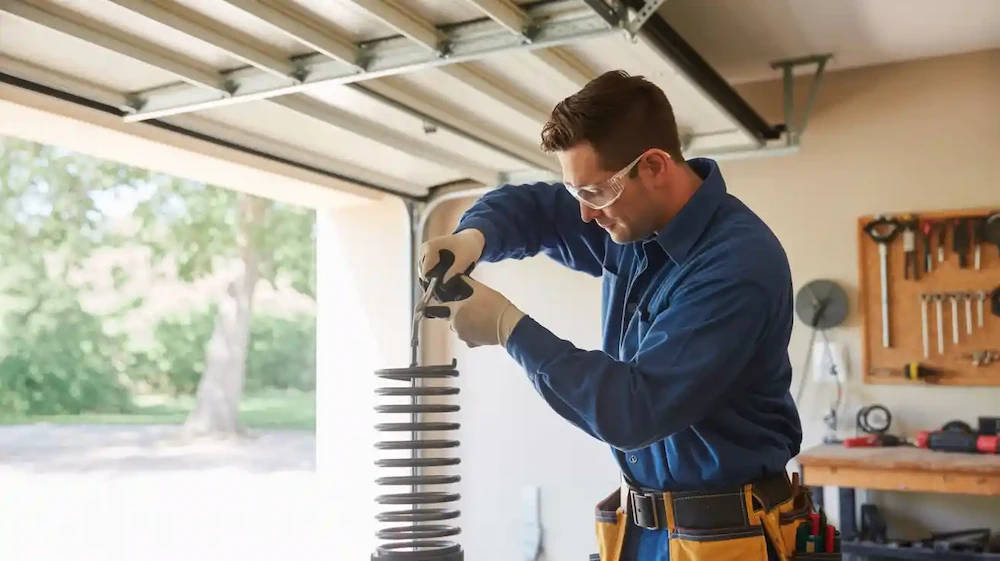
- Extension Springs: Found on either side of the garage door, stretching and contracting as the door moves.
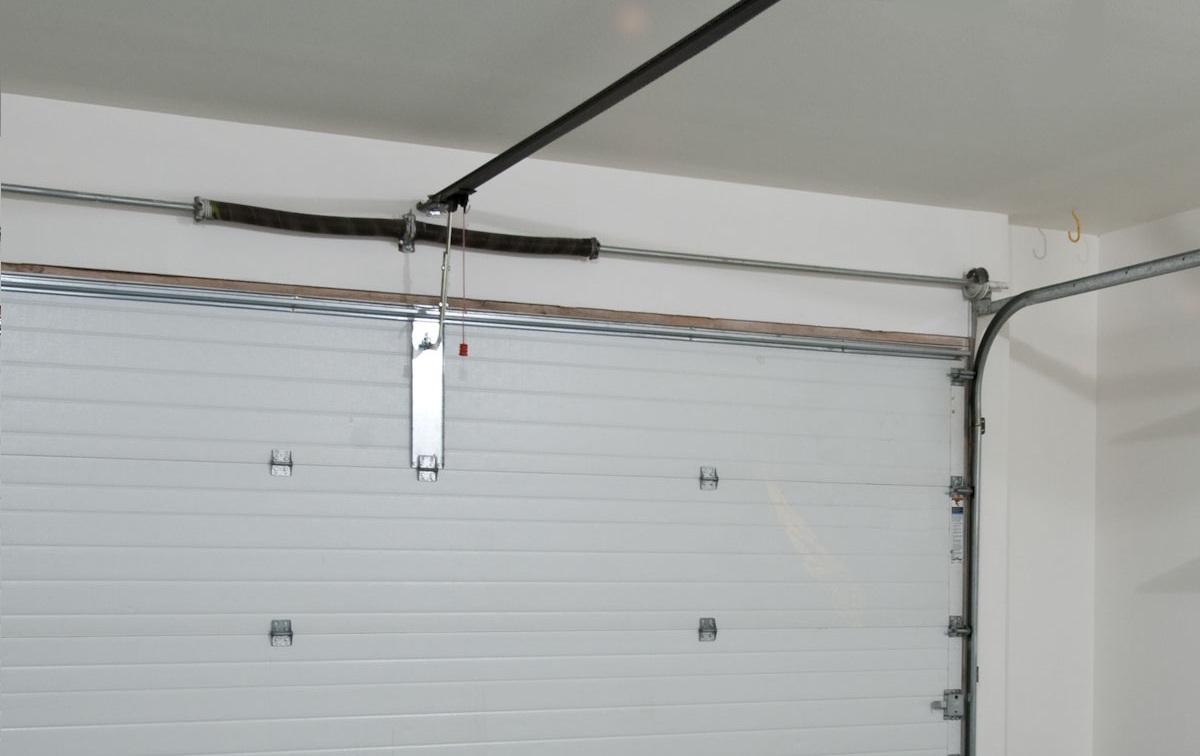
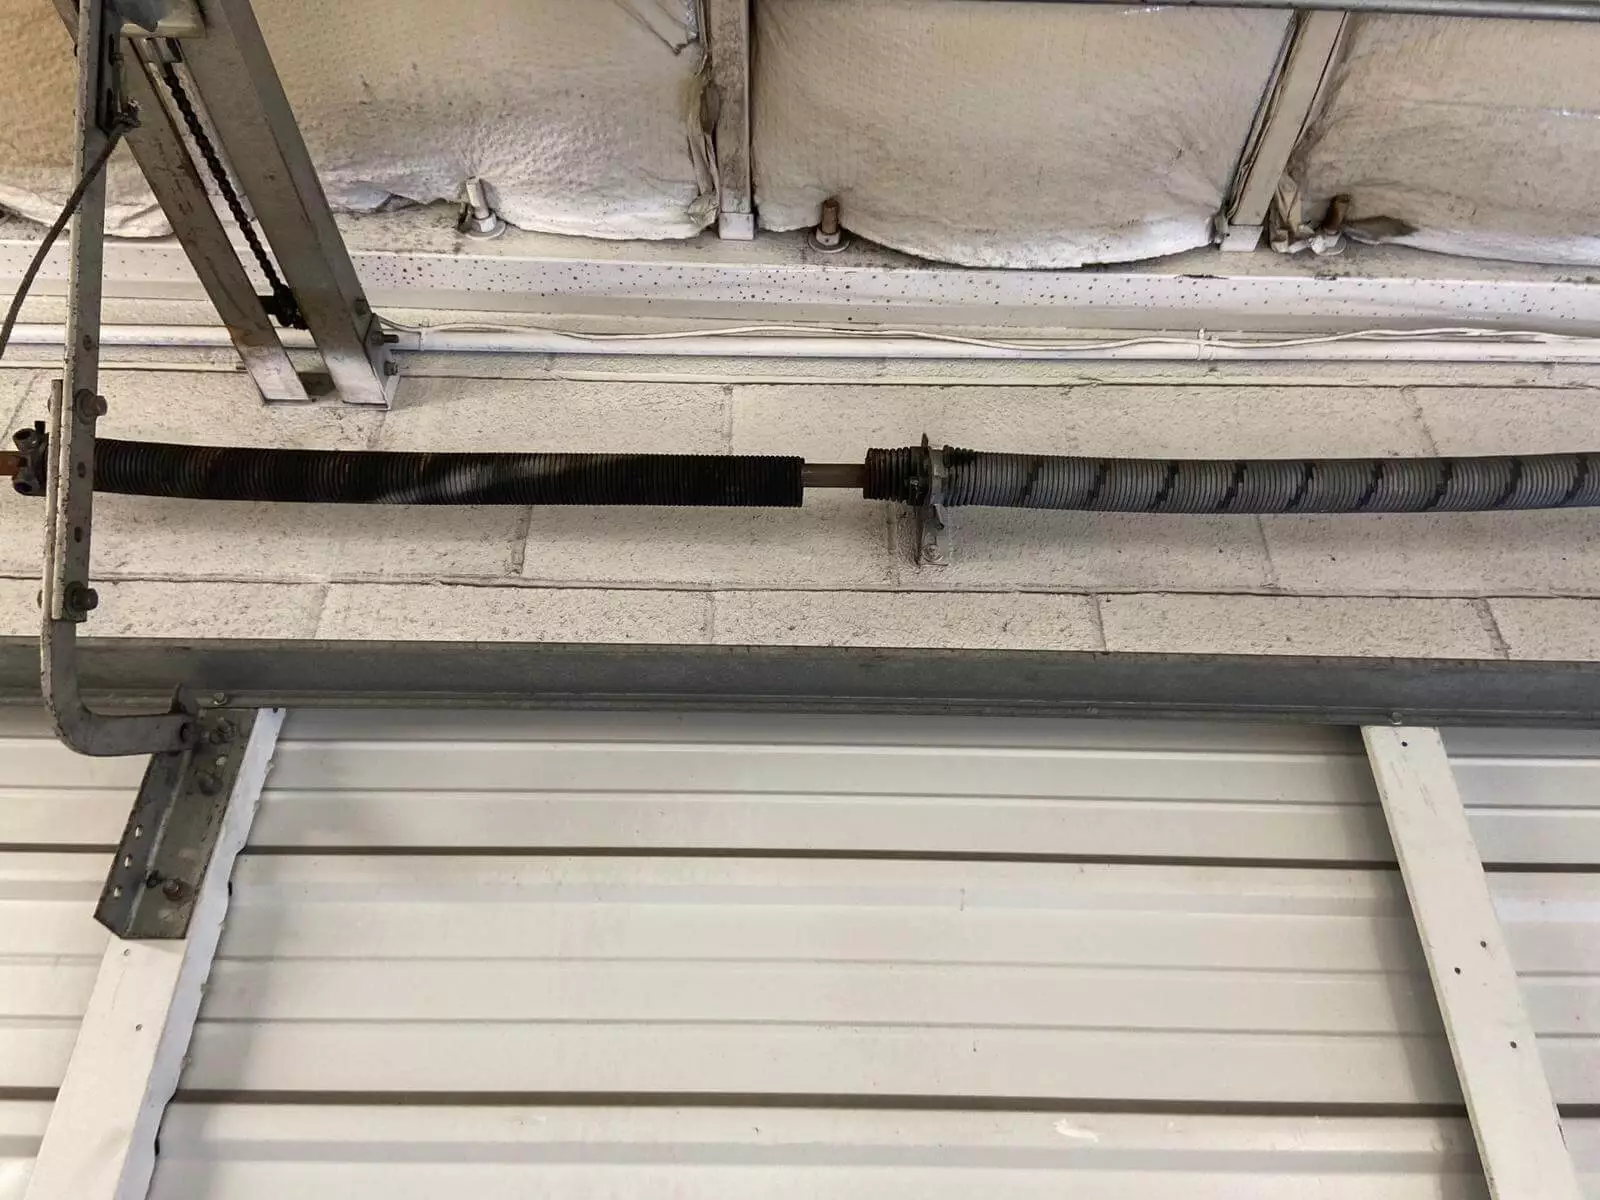
- Torsion Springs: Mounted above the door, twisting to store energy.
Most modern doors use torsion springs because they provide smoother, more balanced movement and greater safety. However, both types can wear out after several years of regular use, typically between 7–10 years or around 10,000 cycles.
If you’re not sure which type you have, look at the top of your garage door. A horizontal bar with a coiled spring means torsion, while side-mounted long springs mean extension.
2. Signs Your Garage Door Springs Need Replacement
Knowing when to replace your springs can prevent accidents. Watch out for these warning signs your Change Out Garage Door Springs need replacement:
- The garage door feels unusually heavy or won’t stay open.
- You hear a loud bang from the garage.
- The door rises unevenly or jerks while opening.
- Gaps appear in the spring coil.
- The opener strains or stops midway.
Ignoring these signs can lead to further damage to the opener or door panels. In one instance, a homeowner waited too long, and the broken spring snapped violently, bending the top panel and requiring a full replacement. Don’t let that happen—act quickly when you notice these signs.
3. Tools and Safety Precautions
When learning how to change out garage door springs safely, having the right tools is critical. You’ll need:
- Winding bars (for torsion springs)
- Adjustable wrench
- Locking pliers or C-clamps
- Safety goggles and gloves
- Ladder
- Replacement springs (matched to your door model)
Safety tip: Never use screwdrivers or makeshift tools for winding or unwinding springs. They can slip and cause severe injury. Always disconnect the power to the garage door opener and keep others away while you work.
4. Step-by-Step Guide to Changing Extension Springs
If your door uses extension springs, replacement is more straightforward:
- Unplug the opener and open the door halfway. Clamp it in place using C-clamps.
- Remove the old springs by unhooking them from the track brackets and safety cables.
- Measure the old springs before buying replacements (length and wire diameter matter).
- Install new springs by attaching one end to the track bracket and the other to the pulley system.
- Reconnect the safety cables and check the door balance.
Pro Tip: Always replace both springs, even if only one is broken. This ensures even tension and longer lifespan.
5. Step-by-Step Guide to Changing Torsion Springs
Torsion spring replacement is more dangerous and should only be attempted if you’re confident with mechanical work. Here’s a simplified outline:
- Disconnect the power and lock the door down.
- Insert winding bars into the winding cone to slowly unwind the tension.
- Remove the set screws and slide off the old spring.
- Measure the spring’s inside diameter, wire size, and length.
- Install the new torsion spring, reattach the cones, and wind it carefully with equal turns.
- Lubricate moving parts and test the door’s balance manually before reconnecting the opener.
Warning: Never stand directly in front of a spring while winding—it stores enormous energy that can cause injury if released suddenly.
6. Common Mistakes When Replacing Garage Door Springs
Even confident DIYers make errors. Avoid these common mistakes when replacing garage door springs:
- Using the wrong spring size or type.
- Not securing the door before loosening the spring.
- Forgetting to test balance before reconnecting the opener.
- Replacing only one spring instead of both.
These oversights can shorten spring life or damage your opener. Take time to double-check your work.
7. Real-Life Case Study: A Weekend Garage Door Fix
Last summer, I helped a neighbor named Tom who decided to replace his own garage door springs after one broke on his double-door system. He watched tutorials, bought torsion springs, and got to work.
At first, things seemed fine—but he misjudged the winding direction. The door opened halfway before slamming shut, twisting the shaft. We ended up calling a professional garage door repair service to re-tension the springs properly and realign the cables.
The technician explained that one wrong turn on the winding bar could throw off door balance completely. After that experience, Tom told me:
“Next time, I’ll handle the easy stuff—but when it comes to garage door spring replacement, I’ll leave it to the pros.”
This real-life example proves how precision and caution can save you time, money, and safety risks.
8. When to Call a Professional
Even if you love DIY projects, it’s okay to admit when something’s too risky. Torsion spring replacement often requires professional expertise and specialized tools. A trained technician can replace both springs, test tension, and ensure safe operation in under an hour.
If you hear grinding sounds or see the door move unevenly after replacement, call a pro immediately. Remember: your safety is more valuable than saving a few dollars.
Conclusion
Learning how to change out garage door springs can be rewarding, but it’s not without risks. Whether you’re handling extension springs yourself or calling a technician for torsion spring repair, safety should always come first.
By following proper steps, using the right tools, and watching for signs your Change Out Garage Door Springs need replacement, you can extend your door’s lifespan and keep your home secure.
FAQs
Can I replace garage door springs myself?
Replacing a garage door spring yourself is possible but not recommended for most homeowners due to the extreme danger and high tension involved.
How often should garage door springs be changed?
Garage door springs should be replaced approximately every 10,000 cycles (10,000 opening and closing operations), which typically translates to a lifespan of about 7-12 years for residential springs.
How do I tell what garage door spring I need?
To determine the right garage door spring, you need to know your door’s weight, height, and spring type (torsion or extension). For extension springs, match the color-coded weight or weigh your door after disconnecting the spring.

Meet Jack, our garage guru. With a wrench in one hand and a can-do attitude in the other, he’s your go-to expert for all things repair and replacement.

